Make your own tahini
There is hardly an ingredient that is not more closely associated with the Levant than tahini. Without the sesame sauce, hummus would simply be a mush of chickpeas with garlic and lemon. It is the creaminess of tahini that makes the popular dips & creams of the Levant what they are: True delicacies!
I used to buy tahini in bulk at the oriental supermarket. You probably know this too: the tahini you buy is often a bit older and has travelled a long way. So it takes a long time for it to reach the shop shelf. It also sits around in the shop for a while. This causes the sesame oil to separate from the sesame mousse. The result is a nice double decker, but you have to mix it thoroughly before you can use it as an ingredient. The quality is also often variable. Sometimes you get really good tahini and sometimes, unfortunately, a bit too bitter.
100% sesame
In the meantime, I prefer to buy lots of hulled sesame seeds and make my own tahini. It’s so easy that I wondered why it took me so long to get my A**** up and finally give it a try. Because all you need is sesame seeds. That’s all you need!
Of course, you also need a blender that has a bit of power and doesn’t have a circulatory collapse after 5 minutes and give up the ghost because of gasping for breath. But you don’t need anything other than sesame seeds.
Mix until the doctor comes
The first time I made my own tahini, I was a bit sceptical. How on earth is 100% sesame supposed to turn into such a velvety, oily paste? And can my blender even manage to grind these tiny grains? My doubts shrank with every second that the little sesame seeds rotated in the blender. At first it felt like nothing was happening and they were just being spun around in circles like a merry-go-round, but after a few short minutes something happened.
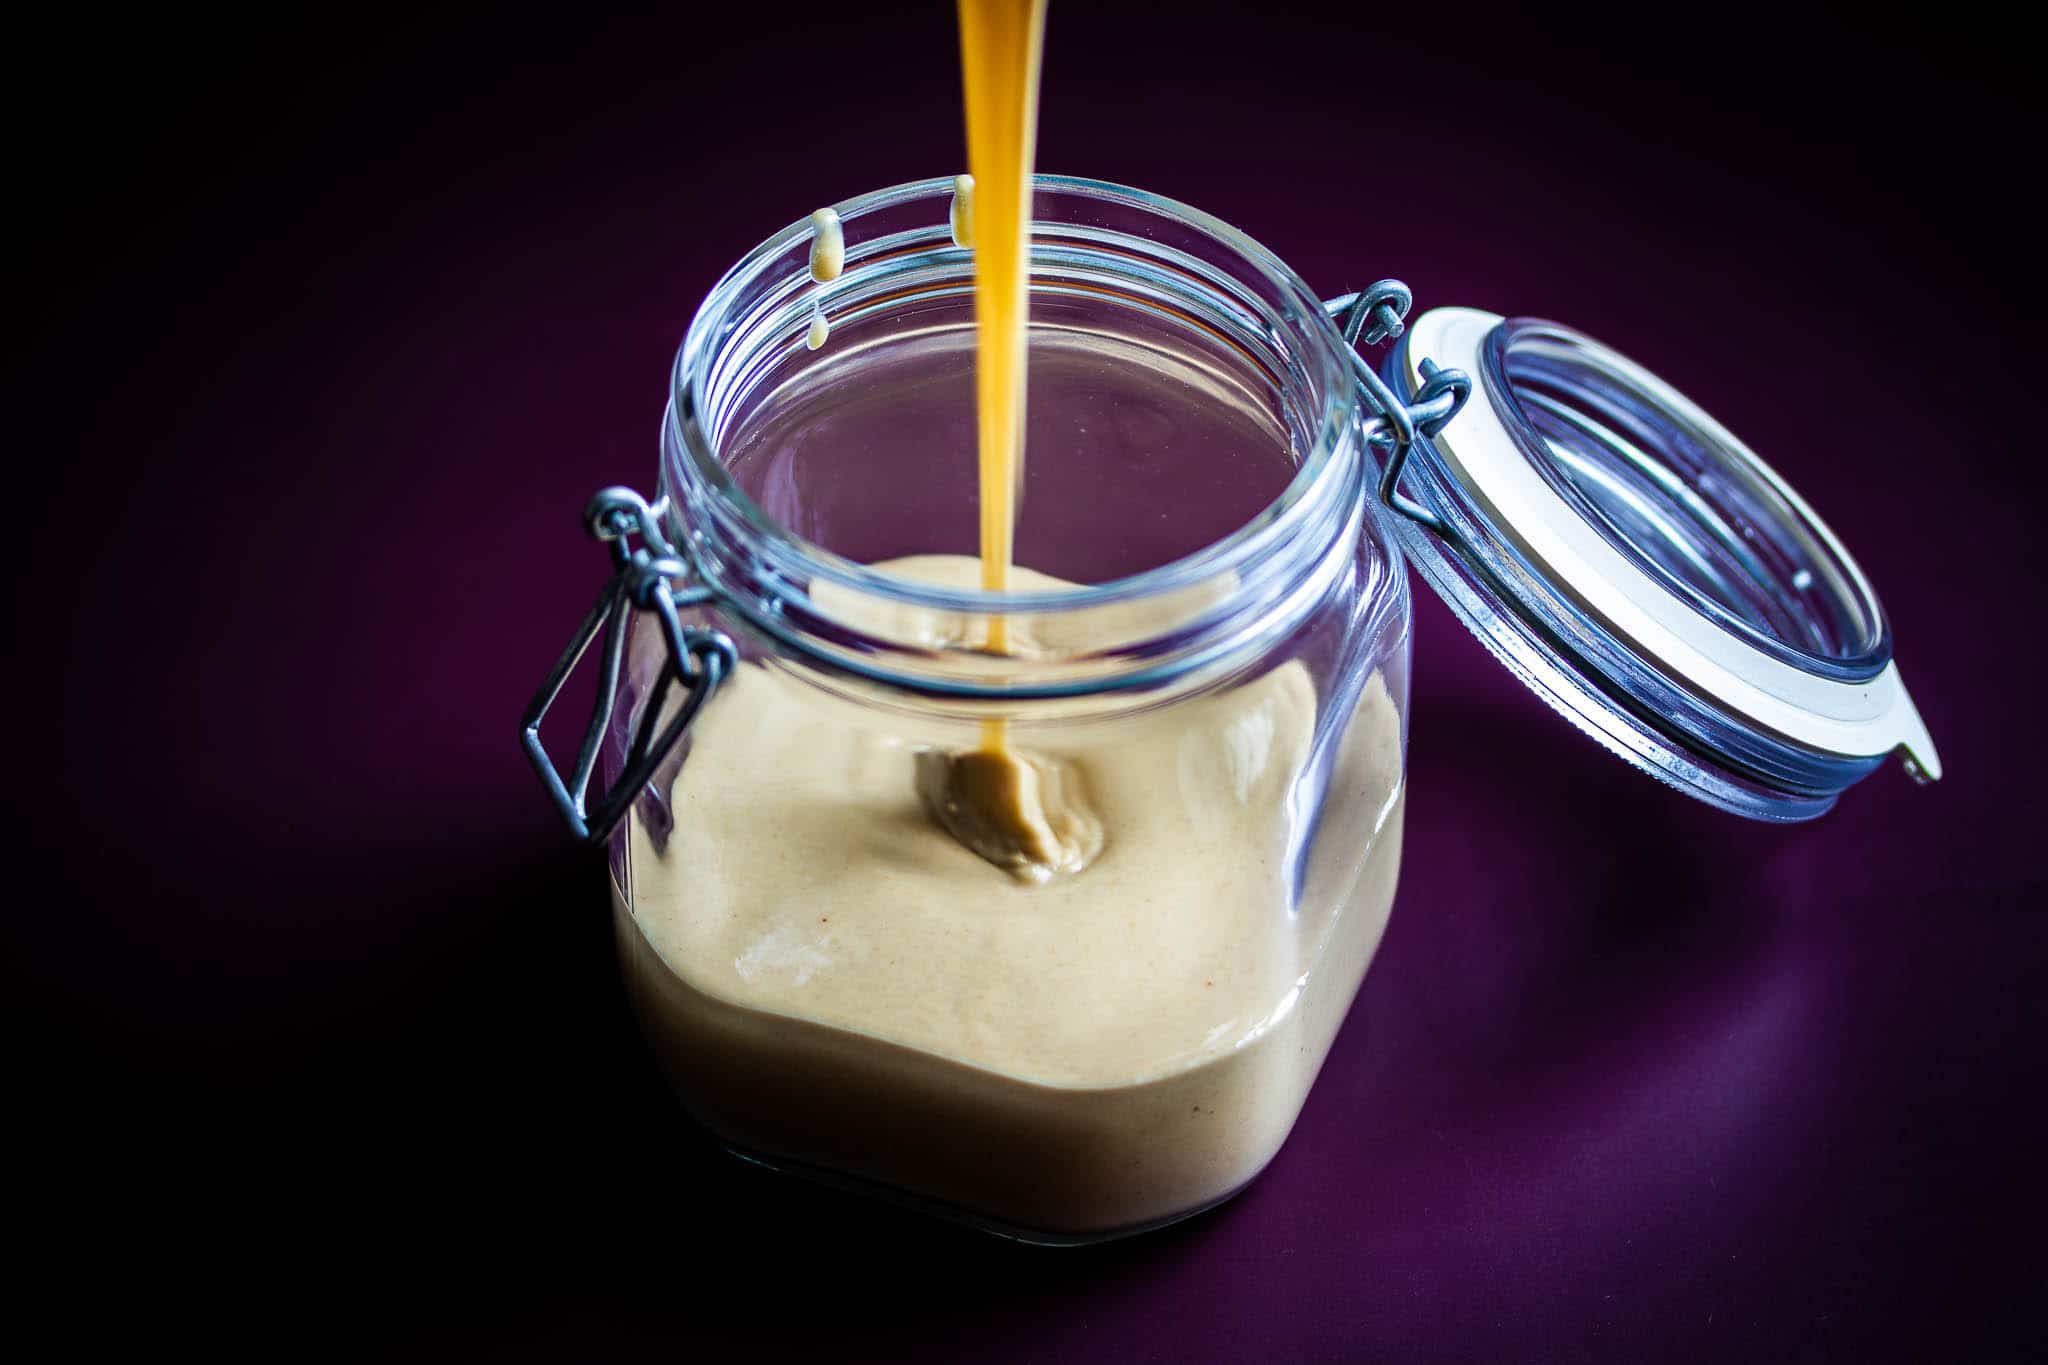
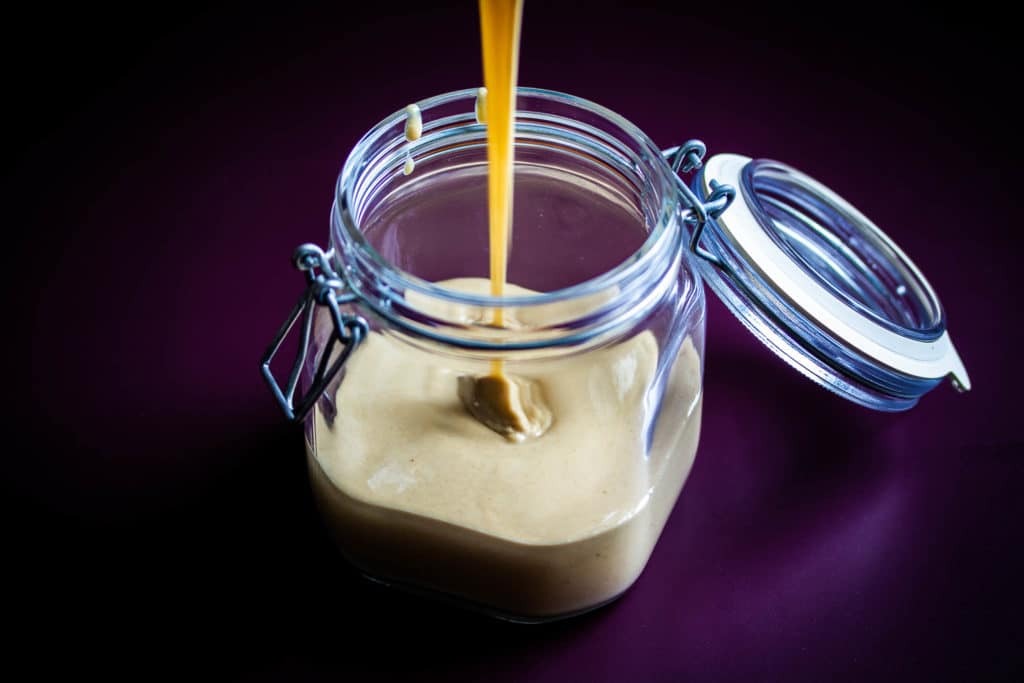
First, the consistency became flaky and you could see directly how the grains turned into coarse meal. A few moments later, the mixer could already hold more sesame seeds. Then everything happened very quickly. The previously still single seeds became a mass, then a ball, then it became creamy, then at some point really liquid. Exciting! When I put my hand to the mixer, I noticed that the mass inside was really warm. That was due to the friction. And that’s exactly why the oil came out of the sesame seeds until it all blended into a mush. The result: the best tahini!
After blending, I put the tahini in a sterilised jar and always have some for the next portions of hummus. And when it’s empty, the blender has to get to work again 😉
Before the mixing comes the roasting
The beauty of homemade tahini is that it turns out the way you want it. Before the sesame seeds go into the blender, they are first gently toasted in a pan. It’s important to stick with it and keep moving and stirring the sesame seeds so they don’t burn. I love it when the wonderful smell of roasted sesame spreads through the kitchen. You can determine the degree of roasting yourself and thus the intensity of the flavour of your tahini. I roast the sesame seeds for a maximum of 10 minutes on medium heat. The sesame seeds then remain rather light, but get enough heat to intensify their flavour.
The first mutabbal with your own tahini
There are many legends about mutabbal. Some say that mutabbal is a cream made from aubergine and tahini. That is correct. Others say that mutabbal is a cream made from chickpeas and tahini. That is also correct. I’ll make it short. Mutabbal is a way of making a cream. Hummus, baba ghanoush etc. belong to the type of mutabbal. A cream made with garlic, lemon and lots of tahini. My first mutabbal with homemade tahini was hummus. And I can tell you, it was the best hummus I have ever made myself.
Why should you make your own tahini?
Unfortunately, I don’t think you can get tahini in every supermarket. And if you do, it’s often really expensive. The quality often varies too. If you make your own tahini, you are the master of quality! Treat yourself to peeled organic sesame seeds. Determine the intensity of the flavour by roasting the sesame yourself. And finally, a very important point: you know that there is only 100% sesame in it.
Here is a small FAQ
It all depends. Most of the nutrients lie dormant in the hull. Unhulled sesame seeds therefore usually contain the most nutrients, whereas hulled sesame seeds have fewer of them. Tahini made from unhulled sesame is slightly more bitter, darker and not quite as fine. Tahini made with hulled sesame is less bitter and more velvety.
No! During mixing, the sesame seeds are not only ground, but also heated by the friction. This causes the sesame’s own oil to escape and creates the well-known sesame puree.
Tahini will keep for several weeks in a well-sterilised jar. Store the tahini in a cool, dry and dark place. However, keep in mind that tahini will eventually go rancid and will not be as tasty if you don’t use it.
How to make your own tahini
Equipment
- 2 sterile preserving jars (250 ml each)
Ingredients
- 500 g Sesame (hulled)
Zubereitung
- Toast the sesame seeds in a coated pan over medium heat for approx. 10 minutes, stirring constantly.
- Add the roasted sesame seeds to the blender and blend for about 20 minutes. To avoid overloading the blender, take frequent breaks and use the time to push the sesame seeds off the walls of the blender with a spatula. Continue blending the sesame seeds until you get a liquid paste.
- Put the finished tahini into a sterilised preserving jar.