Make your own ghee | Everything you need to know
Ghee, also known as ghi, clarified butter or samneh, is a type of clarified butter that has been used in Ayurvedic cuisine for ages. Ghee is also widely used in Levantine cuisine and is used in many savory dishes, but also for desserts, including baklava. Making ghee yourself is really super easy. In this article you will learn how to do it.
“Ghee is more than just clarified butter!”
By the way, it is called samneh in the Arabic language. I find the scent alone, before the clarified butter even comes into the pan or pot, already incredibly delicious. Samneh smells slightly nutty, but strangely also somehow sweetish. But it smells really crazy when you fry ghee. Fry for example your fried egg with ghee – you will love it!
Ghee is basically a fat freed from water and milk protein.
Ghee has a high melting temperature, which makes it last longer than unclarified butter. However, ghee is really famous through Ayurvedic medicine. There it is said that ghee improves digestion and provides the body with nutrients. It is therefore often called “superfat”. Therefore, one could say that ghee is more than just clarified butter. But in the end, it’s just labeling – ghee and clarified butter are factually no different.
How to make ghee yourself
The advantage of homemade ghee is of course: You know exactly what’s in it and avoid any additives or preservatives. And honestly – Ghee you can really super easy and also quickly make yourself! My experience is also that the self-production also tastes much better and the texture is much creamier compared to the purchased version.
To spoil something already and give you a shortcut – This is how clearing works:
- During cooking, the water molecules in the butter evaporate.
- The milk protein components turn into foam that floats on top of the butter and can be easily collected or skimmed off.
- During simmering, the butter takes on delicate toasted aromas.
To make ghee yourself, you only need a few things:
- Butter
- A clean and sterilized jar with lid
- A sieve
- A ladle or large spoon
- A clean cloth or simply kitchen paper
First, melt the butter over low heat. Make sure that the butter is completely melted and that there is not a piece or two that is still whole. If the butter is not completely melted, it will not clarify properly.
Then you can carefully increase the heat slightly until the butter simmers very lightly. It will then form a foam on top and you might see light brownish spots on the bottom of the pot. This is done very quickly – usually in about 10 minutes. It’s really important to keep an eye on the butter while it’s simmering. Otherwise it could burn and become really bitter and inedible.
Then take the pot off the stove and let the butter cool briefly so that you don’t burn your fingers. Meanwhile, you can already prepare the glass. Just put a sieve over the jar and then the clean cloth or paper towel in it.
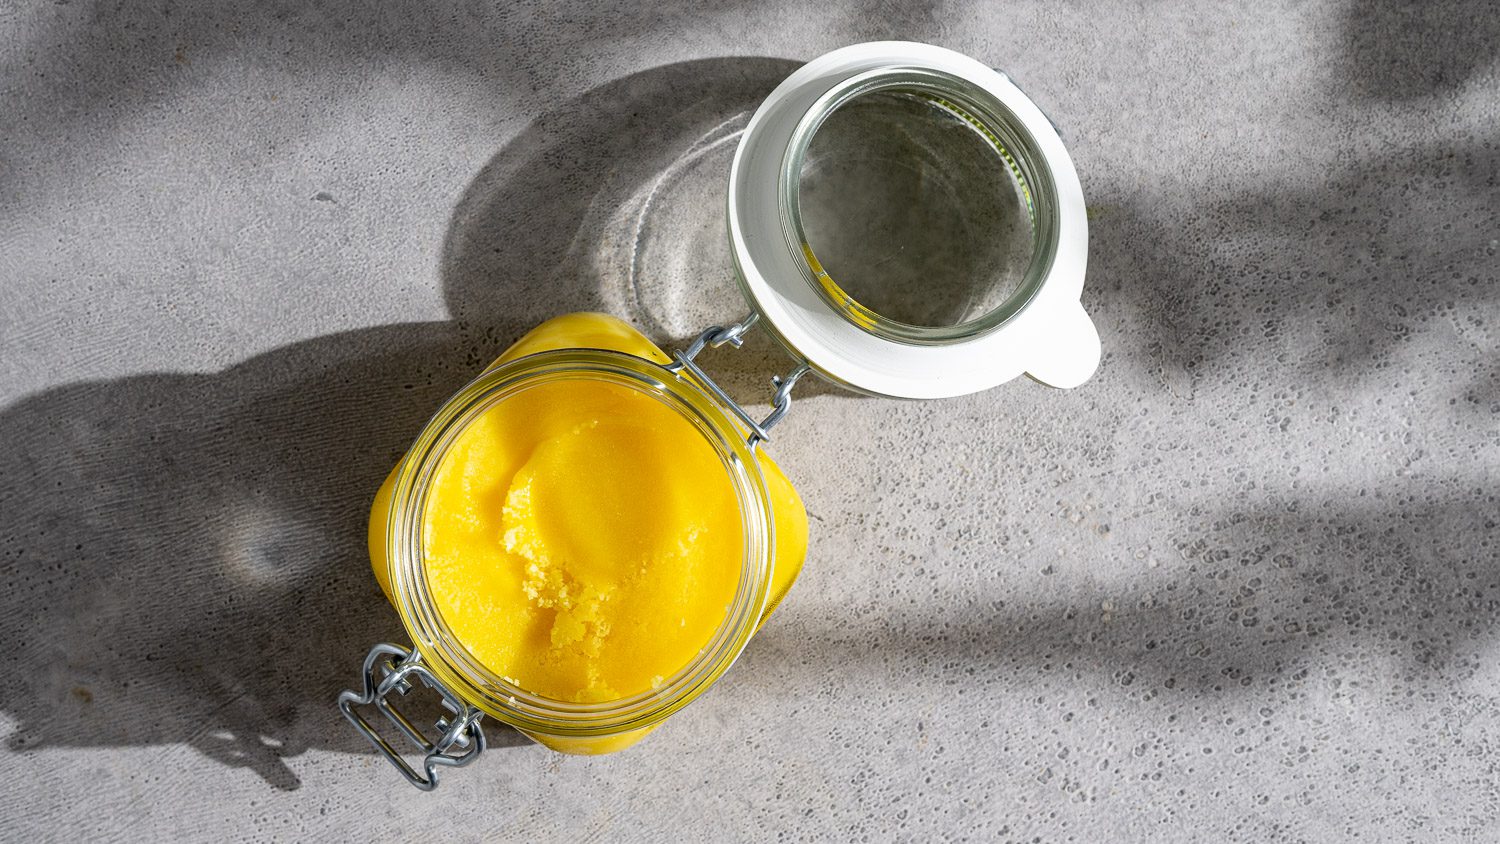
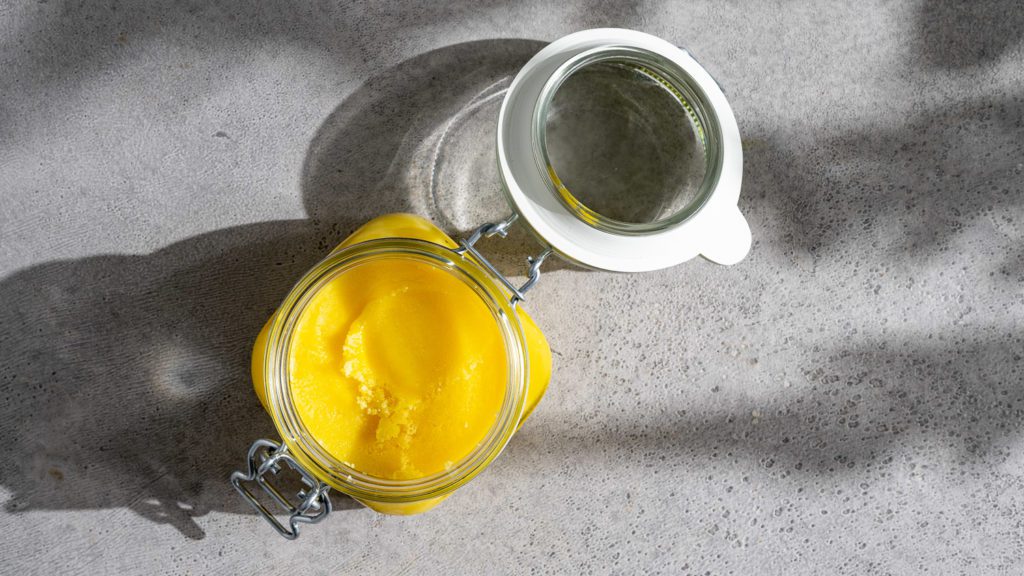
Now you can pour the butter through the sieve and cloth into the jar. The ghee is then left to cool in the jar and can be stored in the refrigerator. Ghee becomes solid at room temperature and will keep for several months in the refrigerator. However, you do not actually need to refrigerate ghee.
A few more tips
Basically, that was already it. But I still have a few important tips for you! Ghee is a fantastic product that should be as high quality as possible. So when buying butter, make sure it is of good quality. So rather go for the organic variety and preferably the butter should be from pasture milk. This is not only better for you, but is also tastier and more climate-friendly.
I love ghee best in its classic form. But if you like, you can also flavor the clarified butter to your liking. For example, you could spice up your homemade ghee with turmeric, cinnamon, cloves or cumin to give it a special touch.
What else is there to know?
- Ghee contains a high amount of butyric acid, which according to some studies can have an anti-inflammatory effect.
- Ghee is excellent for frying because it has a high melting temperature and does not burn as easily as regular butter.
- Ghee is usually lactose-free because the lactose content of butter is removed during the clarification process. This makes it suitable for people who suffer from lactose intolerance. Note, however, that ghee is still dairy and therefore not suitable for people with a milk allergy.
Ghee is really an incredibly great alternative to regular butter! It lasts longer, tastes more intense and is fantastic for sautéing. If you like, you can try it directly with the recipe for butter rice. Enjoy your meal!
Make ghee yourself – The recipe
Ingredients
- 500 g Butter
Zubereitung
- Cut butter into cubes and simmer gently over low heat for about 10-12 minutes.
- When the whey settles on top and the butter is lightly toasted on the bottom of the pot, you can remove the pot from the heat.
- Pour ghee through a straining cloth or a sieve with lined kitchen paper to remove all residue and give you a clear ghee.
- Pour ghee into sealable jars and store preferably in the refrigerator. There it will keep for a few months.
- Alternatively, you can skim off the foam while simmering, then you save straining through the cloth or paper towel.
Notes
Nährwerte
Also be sure to try the feta parcels, kabsa or the baklava cheesecake!